Table of contents
Programming Environment Setup
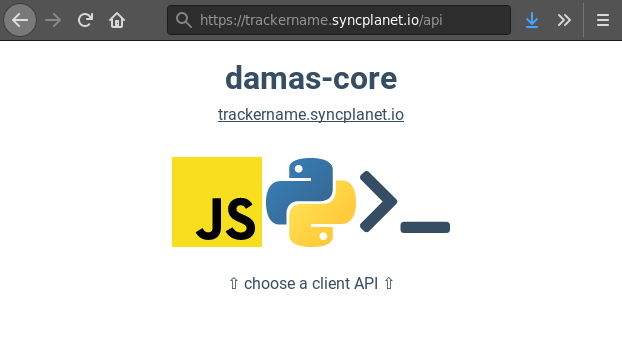
Getting Started: Accessing the tracker API
The SyncPlanet service can be accessed by software developers using Python, Javascript and the command line interface. The API can be used to:
- configure the synchronization behavior, storages, users,
- publish files, read their synchronization states,
- connect a content creation software such as Blender, Maya, Nuke using the Python language
- connect to a production tracking software such as Kitsu, Ftrack, Flow and extend its purpose.
Visit the API of your tracker using /api as path (like https://yourtrackername.syncplanet.io/api). Choose your preferred languages and follow the guides to setup a development environment.
See the SyncPlanet API Reference for a complete function list. The tracker extends the damas-core engine which API is documented on Github .
Setup a Python environment
Install the requests module. With pip:
pipenv install requests
Or with Debian:
apt install python-requests
Then import the damas-core Python module from your tracker https://yourtrackername.syncplanet.io/py/damas.py and connect to it:
Python 2.7.13 (default, Sep 26 2018, 18:42:22)
[GCC 6.3.0 20170516] on linux2
Type "help", "copyright", "credits" or "license" for more information.

# load the module
import damas

# connect to this server
project = damas.http_connection("https:://yourtrackername.syncplanet.io")

# list every node identifiers
project.search("*")

# read every nodes
project.read(project.search("*"))

# publish files
project.publish({
  "_id": "/project/path/new_file",
  "comment": "text",
  "origin": "sitename"
})
Publishing files
As soon as you set up a scripting environment, publishing new files to be synchronized may be the next step you need to do. Here is the reference for the publish method. Many options can be passed at publish time to control the way the file will be synchronized:
- You can define packages of folders to be synchronized: Packages
- You can control which volumes will be delivered: Destination-Filtering
The tracker and the synchronization agents behaviors can be configured according to your needs, therefore we recommend to read the available documentation.
Scripting from the Javascript console
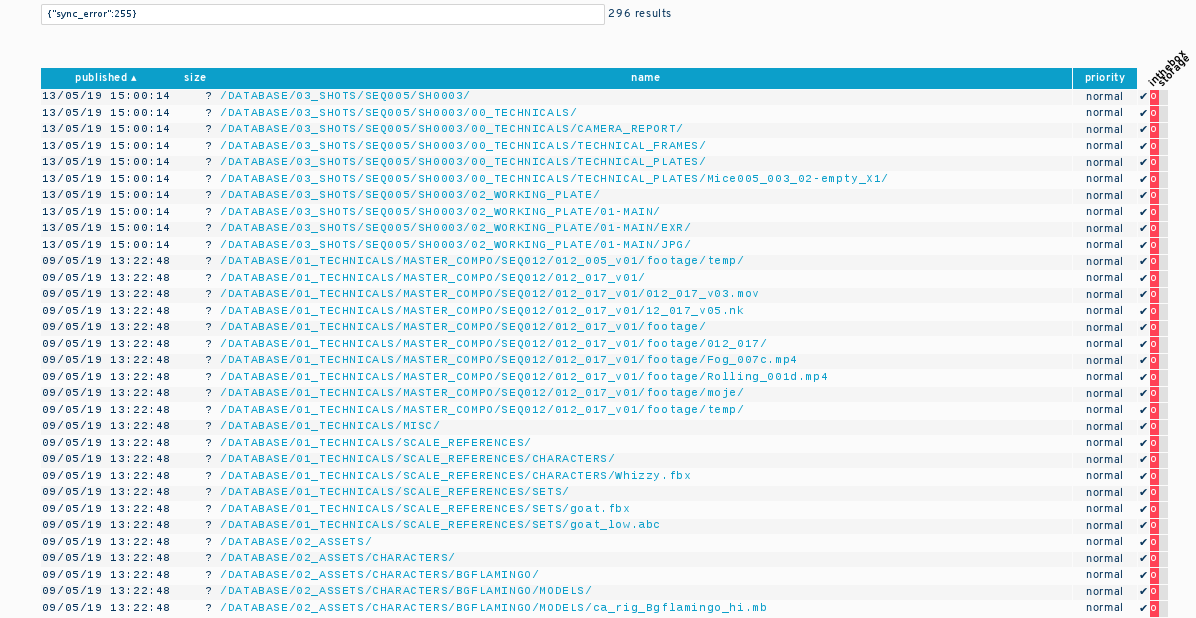
Accessing result
The identifiers of the elements shown in a search result are available in the results global variable. Therefore, to process the 296 elements shown in the example screen shot and remove the error on each file:
damas.update({_id: results, sync_error:null });
Scripting from the command line and Bash
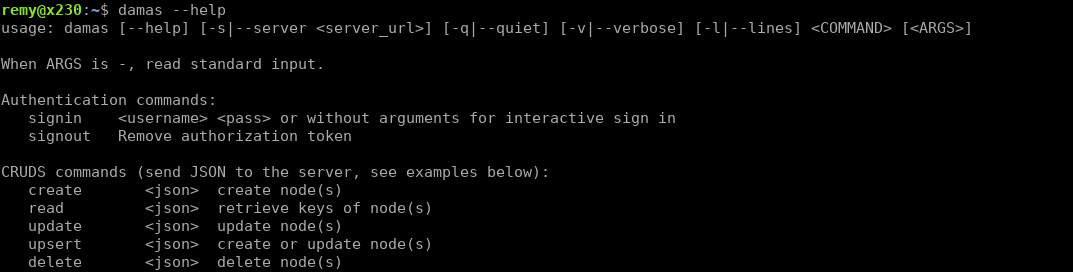
The guide to use the command line interface is available on your tracker:
https://yourtrackername.syncplanet.io/cli
Here is the man page:
NAME
  damas - a command line interface for digital asset management

SYNOPSIS
  damas [OPTION...] <command> [<args>]
  damas [--help] [-q|--quiet] [-v|--verbose] [-l|--lines] <command> [<args>]

DESCRIPTION
  curl-based command to expose the operations of a damas-core service and manage a local repository filesystem

COMMANDS
  File commands:
     add     Add files to the index
     init    Prepare the current directory adding a .damas/ repo folder
     lock    Lock files (set key 'lock' = user name)
     rm      Remove files from the index
     show    Show files record
     signin  <username> <pass>
     signout Remove authorization token
     stats   Update file_mtime and file_size keys of files
     unlock  Unlock files

  CRUDS commands (send JSON to the server, see examples below):
     create       <json>  create node(s)
     read         <json>  show the keys of the file
     update       <json>  update nodes
     delete       <json>  delete nodes
     search       <query> search
     search_mongo <query> <sort> <limit> <skip> MongoDB search

ENVIRONMENT VARIABLES
  DAMAS_DIR
    Path to the repository. It can be an absolute path or relative path to current working directory.
  DAMAS_SERVER
    URL of the server hosting damas-core. It can specify `https://` or `http://` protocols.
  DAMAS_TOKEN
    Token used for authentication.

EXAMPLES
  start tracking every files in current directory
      damas add *
  create an arbitrary node giving a JSON
      damas create '{\"#parent\":\"value\",\"comment\":\"created with cli\"}'
  read nodes for every file in the current directory
      damas show *
  search keys matching a regular expression
      damas search _id:/.*mov/
  search deleted:true key, sort by _id key, show result as lines of ids
      damas -l search_mongo '{"deleted":true}' '{"_id":1}' 0 0

EXIT VALUES
  0  Success
  1  Syntax or usage error
  2  Not a damas repository (or any parent)
  3  Server is unreachable
  7  (Server 207) Multi-Status (some nodes do not exist)
  40 (Server 400) Bad request (not formatted correctly)
  41 (Server 401) Unauthorized
  43 (Server 403) Forbidden (the user does not have the right permission)
  44 (Server 404) Not found (all the nodes do not exist)
  49 (Server 409) Conflict (all nodes already exist with these identifiers)
  50 (Server 500) Internal server error
  60 (Server xxx) Unknown server error

FILES
  .damas/config in repository root

CREDITS
    damas.sh part of damas-core and is distributed under the GNU General Public License.
    See the file LICENSE for details.

AUTHOR
    damas.sh was originally written by Thibault Allard and is maintained by Remy Lalanne.
This command can be integrated in your Shell scripts to build more complex tools and add the synchronization aspect in your pipeline.
Event listener
You can listen to SyncPlanet tracker events using Websockets. See the Event API on Github or doc/Event API on the demo server for documentation and examples using Python and Javascript.
You could also directly search the last 500 elements published and the state of synchronisation using a mongo query. An example in Python:
project.search_mongo(
    { "synced_inthebox": {"$exists": True},
      "synced_jungler": {"$exists": True},
      "synced_moondog": {"$exists": True}},
    {"time":-1}, 500, 0)
This method returns an array containing the path to the files along with the synchronisation state. See the search_mongo() method in the damas-core API reference.