Table of contents
Tutorial: Teams Setup
This very short guide will help you through the essential steps to set up teams for your SyncPlanet network and enable your studios to share their work together.
Adding teams
To add users, or teams, visit the connections panel in your account, and click on the Add button in the teams section. This will generate a team button. Click on it to create a new team and automatically open its page.
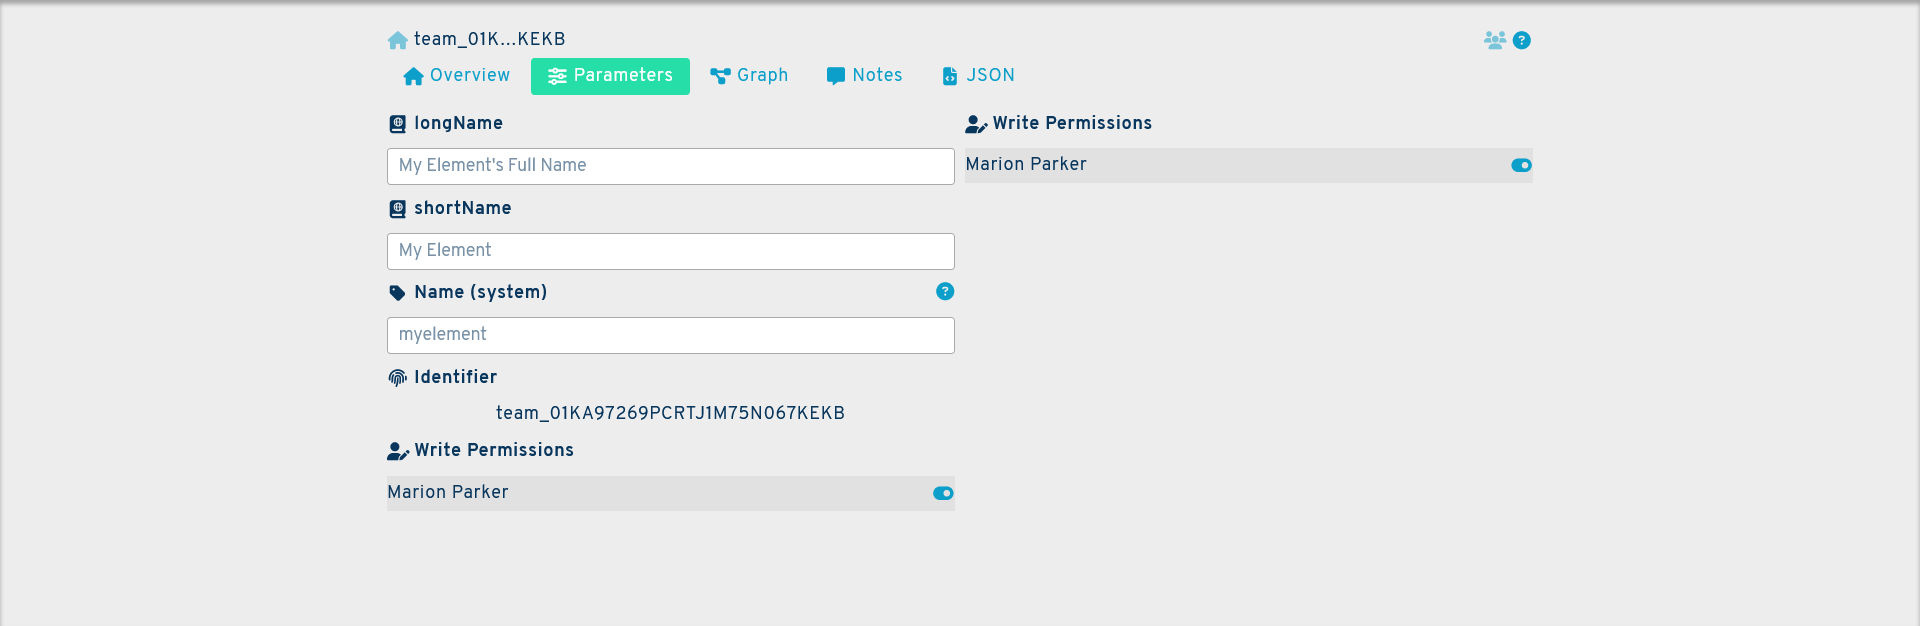
This will create a new team and automatically open the new team's page. From there, go to the parameters panel and fill in the following fields :
longName: this is the full name of your team. It may be anything you choose.
shortName: this is the truncated name of your team, when using the full name is not practical.
Name (system): this is the name of your team in the system. It can be made of between 3 to 16 lowercase alphanumerical characters and cannot contain spaces.
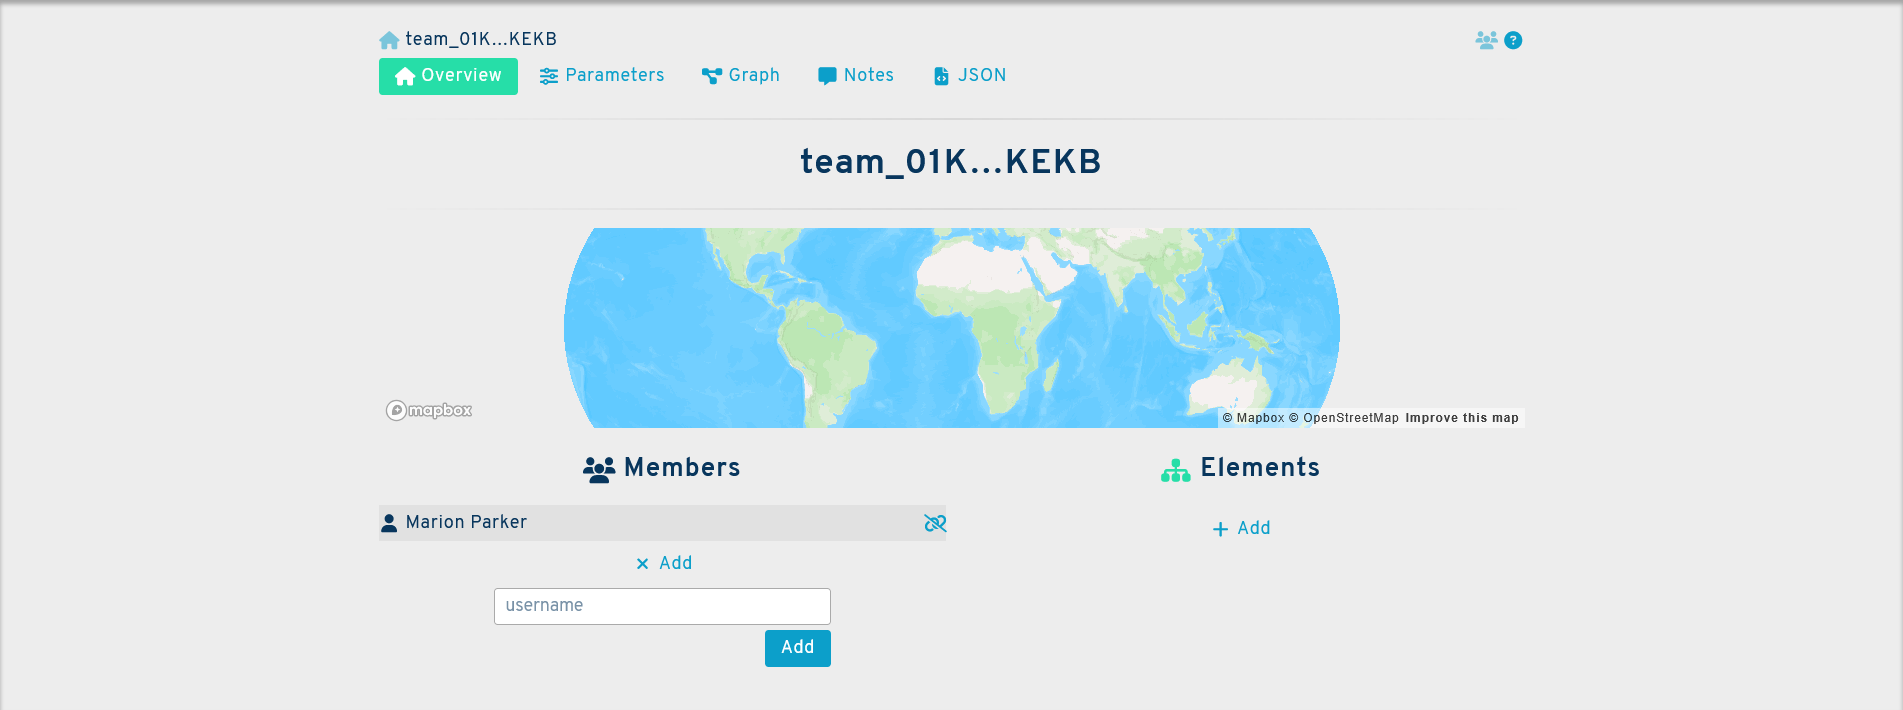
To add members to your team, go to the overview panel, and click on the Add button under the members section. This will open a new field. Add the username of the user you wish to add and click on add. The new member will be added to the team. Finally, you need to connect the team to a storage or hub. To do so, you will need the identifier of the storage you wish to connect the team to. It can be found in the storage page, under identifier. It is marked with a fingerprint icon.
Copy the identifier and paste it in the elementidentifier field of the overview panel of your team. Your team will be connected and able to start synchronising files.
Additonal Questions
If you have any questions regarding the set-up process that are not answered by this guide, please contact us at support@syncplanet.io. In addition, some of our subscription plans include full support days.